

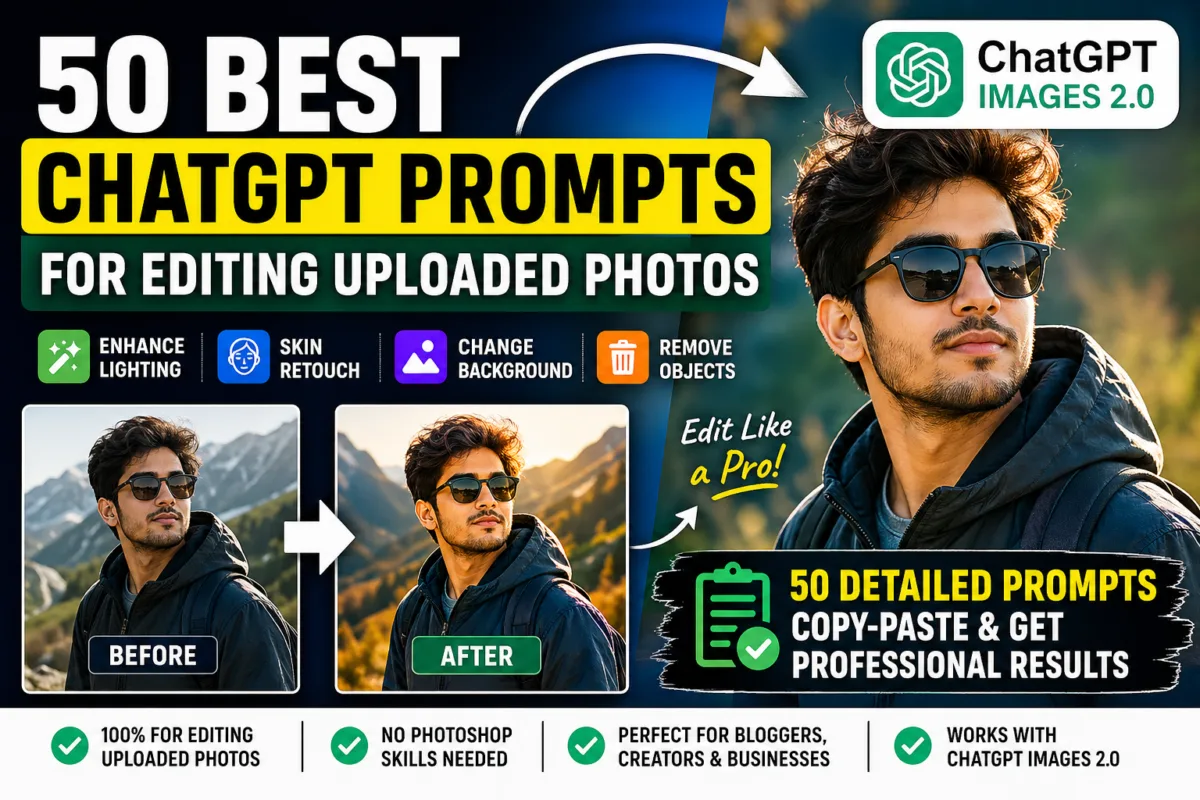
Best ChatGPT Prompt for Photo Editing (50+ Pro-Level Edits Guide) – AI Generated Image
Updated On September 10, 2026
Updated for ChatGPT Images 2.5: OpenAI’s latest image-generation model was launched on September 8, 2026, bringing more precise photo editing, better consistency across edits, improved image quality, and faster generation.
Check our latest 10 Trending ChatGPT Prompts for 80s AI Photos
Table of Contents
Originally published with 25 prompts, this guide has now been updated with 50+ advanced prompts for 2026.
Want to build your own combinations instead of copying a fixed prompt? Try our free ChatGPT Photo Editing Prompt Generator — pick your edit, lighting, and style, and copy a ready-to-use prompt in seconds.
What is ChatGPT Photo Editing?
Modern AI tools like ChatGPT have changed how we edit photos.
Instead of relying on complex editing software like Adobe Photoshop, you can now:
- Upload your image
- Describe the changes you want
- Get an edited version without manually adjusting every setting
👉 No layers, complicated controls, or advanced editing skills are required.
This is especially useful for:
- Bloggers
- Instagram creators
- YouTubers
- Small business owners
Also Read : 30 Best Gemini AI Saree Prompts: Viral Nano Banana Look (2026 Edition)
What’s New in ChatGPT Images 2.5
OpenAI has upgraded ChatGPT’s image generation with ChatGPT Images 2.5, released on September 8, 2026. The update focuses less on adding flashy effects and more on making image creation and editing more accurate, consistent, and easier to control.
1. More Precise Photo Editing
One of the biggest improvements is how ChatGPT handles specific edits. Images 2.5 is better at changing only the part you ask it to change while keeping the rest of the image intact.
For example, you can ask it to change a person’s clothing while keeping their face, pose, background, lighting, and composition unchanged. OpenAI says this improved precision also works with more complex subjects and backgrounds.
2. Better Consistency Across Multiple Edits
You can now make several edits to the same image in one conversation with better consistency.
Instead of starting over after every change, Images 2.5 is designed to build on previous edits more reliably. Earlier changes are more likely to remain intact as you make additional adjustments, rather than the image gradually drifting away from the original.
3. Better Image Quality and Reference Photo Preservation
Images 2.5 produces sharper details, more natural lighting, and richer textures. It is also better at preserving recognizable features when you use a photo as a reference for a new image or transformation.
This is particularly useful for photo editing because the goal is often to improve or transform an existing image without losing the identity or important details of the original subject.
4. Better Understanding of Complex Instructions
The new model is better at understanding detailed visual instructions and turning them into a coherent result. OpenAI also says it handles images containing real-world information more accurately and supports more complex layouts, including transparent backgrounds.
For creators, this means you can give more specific instructions about composition, style, individual elements, and how different parts of an image should work together.
5. Faster Image Generation
OpenAI says image-generation latency has been reduced by up to 50% compared with Images 2.0. That means you can generate an image and refine it more quickly instead of waiting as long between attempts.
6. New Sketch Feature
ChatGPT Images 2.5 also introduces Sketch, which lets you draw directly in ChatGPT and use your sketch as a visual guide.
You can roughly draw a room layout, an outfit, an object, or even a simple composition, and ChatGPT can turn that rough idea into a finished image.
7. Templates for Common Image Formats
ChatGPT now provides templates for some popular creative formats, making it easier to start projects without describing everything from scratch. OpenAI gives examples such as posters and merchandise designs.
8. Comments and Prompt Sharing
Images 2.5 adds more ways to work with and share generated images. You can place comments directly on an image to request more focused edits, and you can also share the prompt used to create an image so someone else can try the same idea with their own photo and details.
What This Means for Photo Editing
For the prompts in this guide, you don’t need to completely change the way you write your instructions. The same types of prompts for portrait enhancement, background replacement, object removal, lighting correction, color grading, and other edits are still useful.
The bigger improvement is that ChatGPT Images 2.5 is better at following those instructions while preserving the parts of your photo that you did not ask it to change. That’s particularly useful when making precise edits to an uploaded image.
Want to see these features tested hands-on rather than just described? Check out our full ChatGPT Images 2.5 testing guide — we actually ran the Packaging, Poster, Interior Design, and Sketch templates and documented exactly what happened, including a hidden system prompt OpenAI doesn’t mention anywhere.
What You Can and Cannot Edit with ChatGPT
ChatGPT can handle a wide range of edits on an uploaded photo, from simple corrections to more advanced transformations. With ChatGPT Images 2.5, the model is better at making targeted changes while preserving details you want to keep.
You CAN edit:
- Lighting, exposure, brightness and contrast
- Skin tone and minor portrait retouching
- Background replacement
- Object removal or addition
- Colors and color grading
- Sharpness, clarity and image enhancement
- Clothing and hairstyle changes
- Photo style and artistic transformations
- Specific parts of an image without changing the entire composition
- Images can also be transformed into new settings, styles or compositions while retaining more details from the original photo
Keep in mind:
- Results are not always pixel-perfect, especially with highly detailed edits.
- Facial features, hands, text and other fine details can sometimes change during a transformation.
- Even when using the selection tool, edits may extend beyond the exact area selected. OpenAI notes that selections are not always precise.
- For precise edits, clearly describe what to change and what to keep unchanged.
👉 This article focuses specifically on prompts for editing existing/Uploaded photos. For creating completely new images from text, see our guide on Create Images with ChatGPT
Also read : ChatGPT “Meet Your Younger Self” Trend: How to Create Viral AI Childhood Photos -25 Prompts
How to Write Perfect ChatGPT Image Editing Prompts
Best Prompt Formula
Use this structure:
Edit this image and + [Specific Task] + [Lighting] + [Camera Effect] + [Style] + [Constraints]Example:
Edit this image and enhance it with soft cinematic lighting, improve skin texture naturally, add slight background blur using DSLR depth of field, maintain original facial features, and keep colors realistic
50 Detailed ChatGPT Photo Editing Prompt Copy paste (Uploaded Photos)
Portrait Editing Prompts
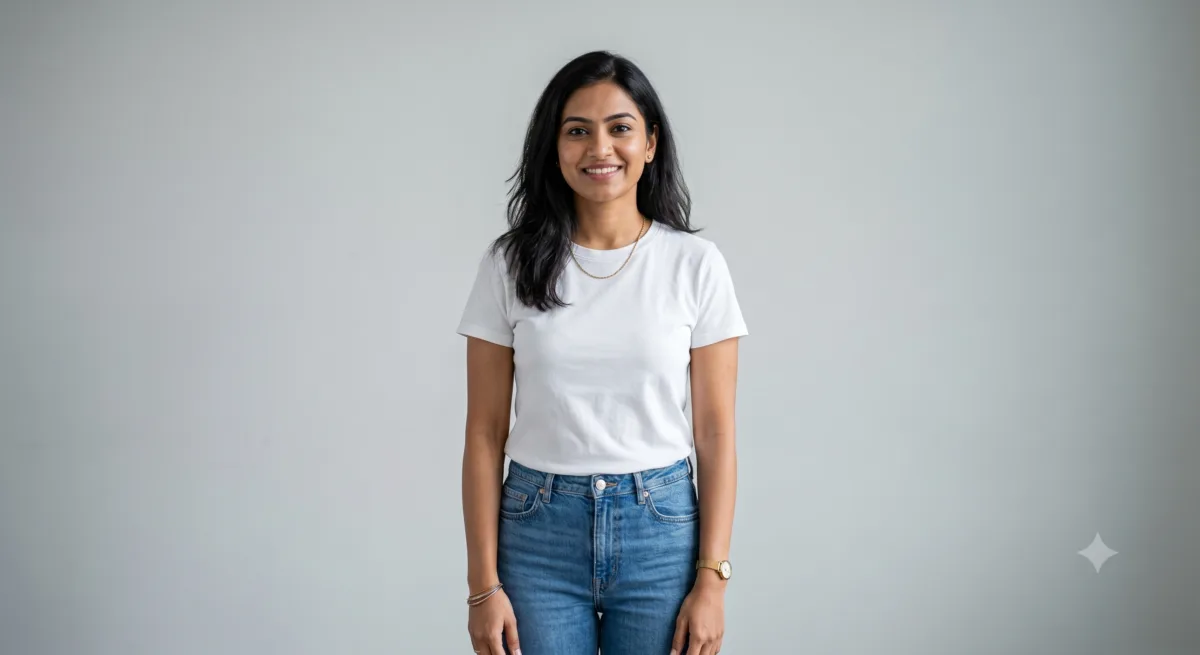
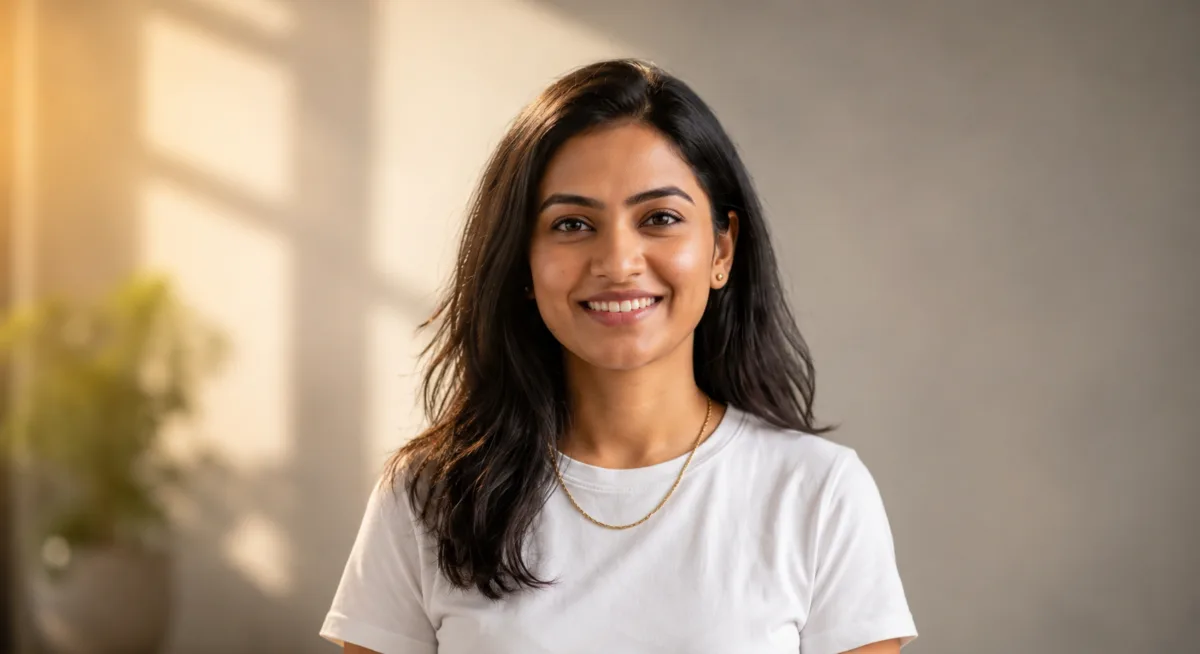
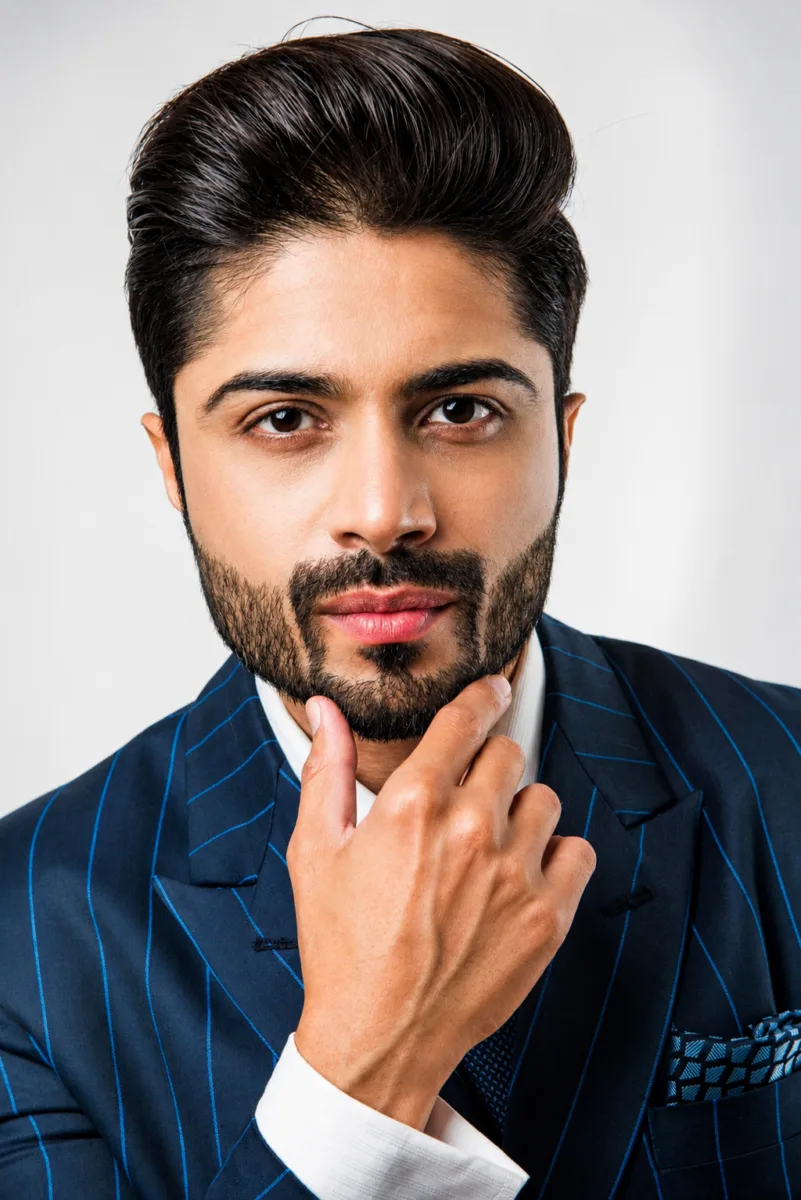
1. Enhance this portrait with ultra-realistic skin texture, remove blemishes while keeping natural details, apply soft cinematic lighting from the left side, simulate DSLR 85mm lens with shallow depth of field, add creamy bokeh background, warm golden tone, sharp focus on eyes.
Copy2. Edit this image into a professional studio headshot with a clean background, balanced skin tone, soft diffused lighting, high dynamic range, subtle facial contouring, realistic shadows, and crisp facial details suitable for LinkedIn. Keep the person’s facial features, hairstyle, body proportions and identity unchanged.
Copy3. Improve this portrait by adding natural skin smoothing without over-processing, enhance eye sharpness and brightness, apply soft rim lighting, slightly blur background using depth of field effect, maintain realistic color grading.
Copy4. Edit this photo into a fashion magazine-style portrait with high-contrast lighting, editorial color grading, dramatic shadows, and a studio-quality finish. Keep the person’s identity, facial features, hairstyle, pose and body proportions unchanged.
Copy5. Enhance this image with cinematic lighting, soft glow on skin, slightly increase exposure, adjust white balance to warm tones, and create a luxury portrait feel with subtle background blur.
Copy6. Apply HDR enhancement to this portrait, improve clarity and sharpness, balance highlights and shadows, and add realistic skin tone correction without losing natural texture.
Copy7. Create a beauty retouch version of this image with smooth but natural skin, glossy highlights, bright eyes, and soft studio lighting, keeping it realistic and not overly artificial.
Copy8. Convert this image into a professional passport-style photo with neutral lighting, white background, even exposure, and sharp facial details.
Copy9. Enhance this portrait with soft natural daylight effect, add slight warm tones, improve skin vibrancy, and create a clean minimal aesthetic.
Copy10. Turn this into a cinematic close-up portrait with dramatic lighting, deep shadows, high contrast, and a moody film-style color grade.
Copy
Lighting & Color Correction
11. Edit this image and perform advanced exposure correction by recovering highlights, lifting shadow details without introducing noise, balancing mid-tones, applying subtle HDR blending, and ensuring smooth tonal transitions while maintaining a natural dynamic range.
Copy12. Edit this image using cinematic teal and orange color grading by cooling shadows slightly, warming highlights, increasing contrast with soft roll-off, adding subtle film grain, and maintaining realistic skin tones without oversaturation.
Copy13. Edit this image and simulate golden hour lighting by adding warm directional sunlight from one side, creating soft long shadows, enhancing skin glow, adjusting highlights with golden tint, and maintaining natural environmental consistency.
Copy14. Edit this image by correcting white balance precisely, removing unwanted color cast, neutralizing whites and grays, enhancing color accuracy, and ensuring consistent tones across the entire image.
Copy15. Edit this image and apply controlled HDR enhancement by expanding dynamic range, enhancing local contrast, preserving highlight details, avoiding halo effects, and maintaining a realistic professional finish.
Copy16. Edit this image and convert it into a high-contrast cinematic black and white by emphasizing light and shadow separation, enhancing texture details, applying subtle grain, and ensuring strong tonal depth.
Copy17. Edit this image and enhance colors by increasing vibrancy selectively, improving saturation only where needed, protecting skin tones, and maintaining a natural, realistic look without artificial color shifts.
Copy18. Edit this image by softening harsh light sources, reducing strong shadows, adding diffused lighting effect, balancing exposure evenly across the subject, and maintaining depth without flattening the image.
Copy19. Edit this image by improving low-light visibility, reducing noise intelligently, enhancing details in dark areas, preserving natural colors, and avoiding over-sharpening or artificial brightness.
Copy20. Edit this image using pastel color grading by reducing contrast slightly, softening highlights, applying gentle color tones, smoothing transitions, and maintaining a clean aesthetic look.
Copy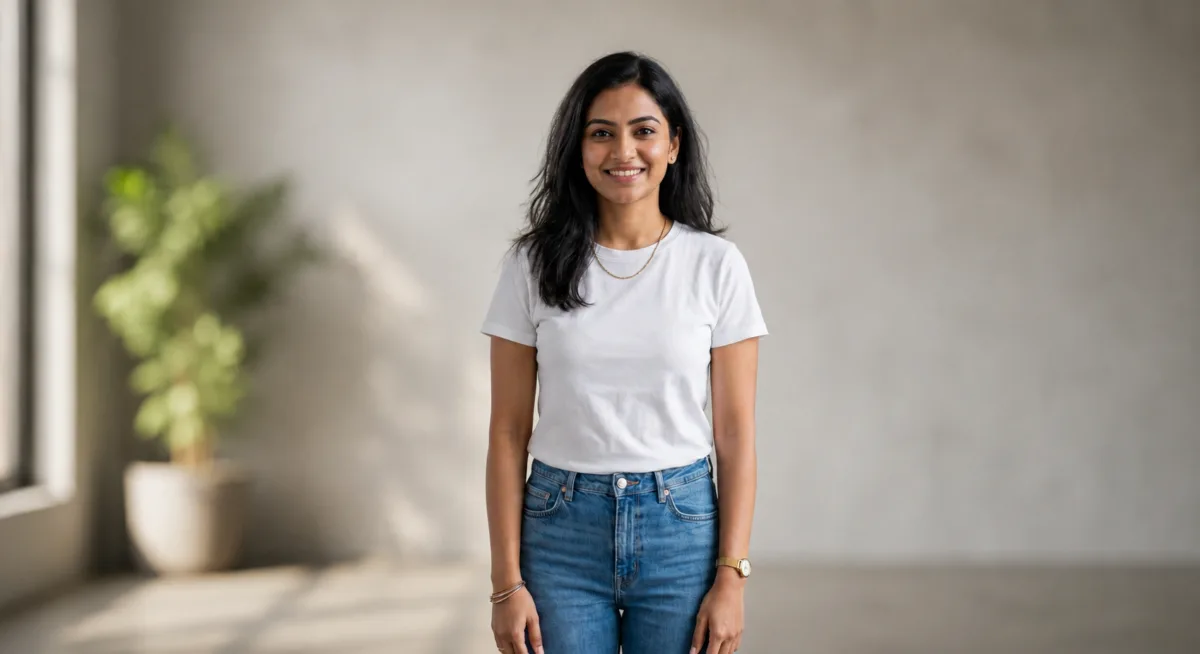
Background Editing Prompts
21. Edit this image and simulate a DSLR-style shallow depth of field by applying realistic background blur based on distance from subject, maintain sharp focus on the subject, preserve edge details, and ensure natural lens falloff without artificial cutout effect.
Copy22. Edit this image and replace the background with a modern office environment, match light direction, color temperature, and shadow intensity with the subject, adjust reflections and perspective for realism, and ensure seamless blending.
Copy23. Edit this image by removing background clutter and distractions, intelligently fill removed areas using surrounding textures, maintain depth consistency, and ensure the subject remains untouched and natural.
Copy24. Edit this image and replace the background with a soft gradient studio backdrop, add subtle light falloff, maintain realistic shadows under the subject, and ensure a clean, professional portrait finish.
Copy25. Edit this image and enhance background with natural bokeh effect by simulating lens blur, maintaining circular light patterns, preserving subject edges, and ensuring depth separation without artificial halos.
Copy26. Edit this image and replace the background with a realistic outdoor environment, adjust ambient lighting, color tones, and shadows to match subject, add slight atmospheric depth (haze if needed), and maintain natural perspective.
Copy27. Edit this image by removing background distractions while maintaining original depth layers, avoid flattening the image, and ensure textures and lighting remain consistent across the frame.
Copy28. Edit this image by adjusting background brightness, contrast, and color tones independently from the subject, subtly darken or desaturate background to enhance subject focus while keeping a natural look.
Copy29. Edit this image and convert background into a clean pure white studio setup, add realistic soft shadow beneath subject, ensure even lighting, remove edge artifacts, and maintain product or subject clarity.
Copy30. Edit this image by correcting inconsistencies between subject and background lighting, align light direction, adjust shadow softness, match color temperature, and ensure the entire scene looks naturally lit.
CopyObject Removal & Cleanup
31. Edit this image and remove unwanted objects from the background, reconstruct the removed areas using surrounding textures and patterns, maintain lighting consistency, and ensure seamless blending without visible artifacts or patching.
Copy32. Edit this image and remove photobombers or background distractions, intelligently rebuild the background using context-aware fill, preserve depth and perspective, and ensure the scene remains natural and undistorted.
Copy33. Edit this image and clean up messy or cluttered background elements, simplify the scene while preserving depth layers, maintain subject prominence, and ensure realistic texture continuity.
Copy34. Edit this image and remove unwanted shadows or reflections that distract from the subject, adjust surrounding lighting to maintain consistency, and ensure no unnatural lighting gaps remain.
Copy35. Edit this image and smooth uneven or rough surfaces in the background, reduce visual noise while preserving natural texture details, and avoid over-blurring or plastic-like finish.
Copy36. Edit this image and remove dust, spots, scratches, or minor imperfections using precise retouching, maintain original surface texture, and ensure the edit is invisible and natural.
Copy37. Edit this image and fix lighting inconsistencies across the frame by balancing exposure, aligning light direction, adjusting shadow intensity, and ensuring a uniform and natural lighting flow.
Copy38. Edit this image by removing unnecessary or distracting elements, improve visual composition, maintain subject balance, and ensure the final image feels clean and professionally framed.
Copy39. Edit this image and clean edges around the subject for better separation from background, refine fine details like hair and contours, remove halo effects, and maintain natural blending.
Copy40. Edit this image and correct minor distortions or perspective issues, straighten lines, align verticals and horizontals, and maintain realistic proportions without warping the subject.
Copy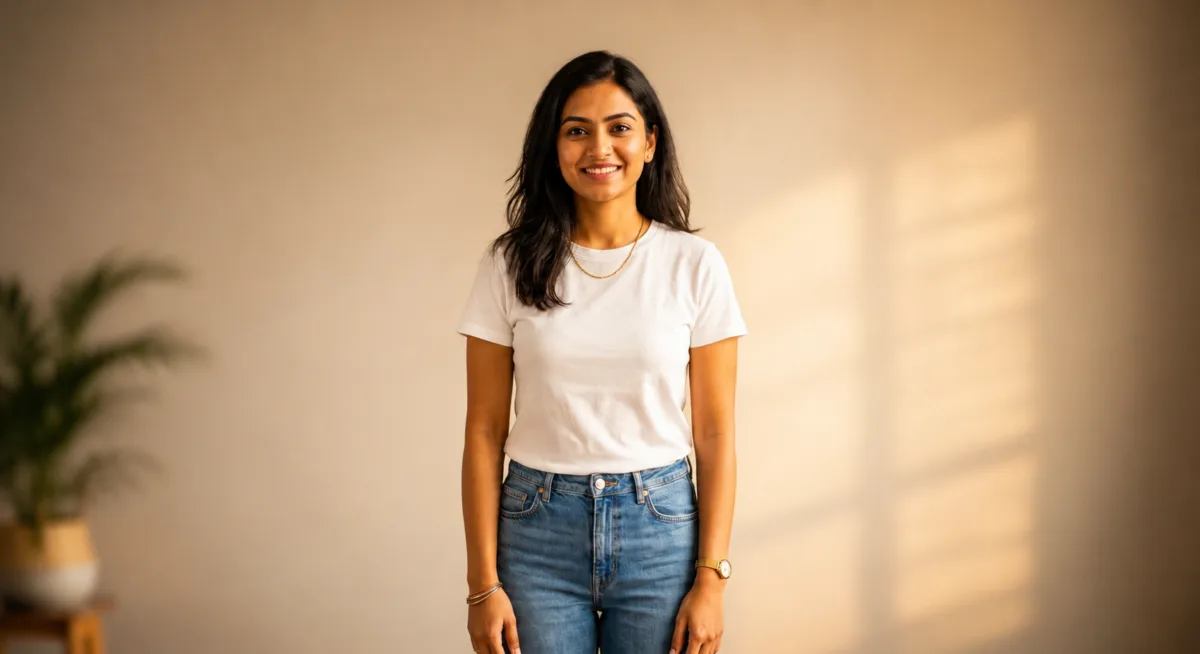
Professional & Advanced Editing
41. Edit this image and optimize it for Instagram by applying cinematic color grading with warm tones, increase mid-tone contrast, enhance skin tones naturally, add soft glow effect, simulate DSLR shallow depth of field with subtle background blur, improve subject sharpness, and ensure the image looks vibrant but realistic without oversaturation.
Copy42. Edit this image for YouTube thumbnail by increasing subject brightness and sharpness, apply high contrast lighting, slightly blur background to create separation, enhance facial clarity, adjust colors to be bold and eye-catching, add subtle vignette, and ensure the subject stands out clearly even at small screen sizes.
Copy43. Edit this image into a professional e-commerce product photo by replacing only the background with pure white, adding soft diffused studio lighting, and creating a realistic soft shadow under the product. Preserve the product’s shape, proportions, colors, branding, labels and fine details exactly as they appear.
Copy44. Edit this image by improving overall clarity and micro-details, apply advanced sharpening without introducing noise, enhance textures, balance highlights and shadows using HDR effect, and maintain natural color accuracy for a crisp professional output.
Copy45. Edit this image and upscale it to high resolution while preserving natural textures, avoid artificial smoothing, enhance edges carefully, reduce noise, and maintain realistic details especially in skin, fabric, and background elements.
Copy46. Edit this image using professional commercial color grading by balancing tones, enhancing dynamic range, applying subtle contrast curves, refining skin tones, maintaining brand-safe colors, and ensuring a polished advertisement-ready finish.
Copy47. Edit this image for real estate listing by brightening the scene naturally, correcting perspective distortion, enhancing natural light from windows, improving color balance, making the space look clean and spacious, and ensuring a professional property showcase appearance.
Copy48. Edit this image by improving composition using smart cropping and alignment, center the subject properly, remove unnecessary empty space, apply rule-of-thirds framing, and ensure visual balance for a professional look.
Copy49. Edit this image by adding depth using light and shadow adjustments, enhance foreground clarity, slightly darken background for separation, apply subtle vignette, and create a natural 3D effect without making it artificial.
Copy50. Edit this image and perform complete professional retouch including exposure correction, white balance adjustment, natural skin enhancement, background cleanup, noise reduction, sharpness improvement, and cinematic color grading while maintaining realistic and natural appearance.
CopyBeginner vs Advanced ChatGPT Prompts For Photo Editing
Beginner:
Make this photo better.
This works for simple edits, but the result can be unpredictable because the prompt doesn’t tell ChatGPT what you actually want to change.
Advanced:
Edit this image by improving the lighting, naturally enhancing skin texture, balancing the colors, and adding a subtle shallow depth of field. Keep the person’s facial features, hairstyle, clothing, pose, body proportions, and overall composition unchanged. Maintain a realistic, natural appearance without excessive retouching.
The difference: A stronger prompt clearly describes what to change and what to preserve. This is especially useful with ChatGPT Images 2.5, which is better at making focused edits while keeping other details consistent.
Common Mistakes to Avoid
1. Writing vague prompts
Instead of:
Make this photo better.
Tell ChatGPT exactly what you want to improve and what the final result should look like.
2. Giving conflicting instructions
Avoid combining instructions that work against each other, such as asking for both an extremely dramatic transformation and a completely unchanged original appearance.
3. Forgetting to specify what should stay unchanged
For targeted edits, mention important elements you want to preserve, such as the person’s face, clothing, background, product shape, or composition. Images 2.5 is better at following these preservation instructions.
4. Making every edit at once
For complex photos, making several focused edits one at a time can give you more control. Images 2.5 is designed to maintain consistency across multiple editing turns, so you can refine an image gradually.
5. Expecting perfectly precise selections
When using ChatGPT’s selection tool, the highlighted area is not always exact, and an edit can sometimes affect areas outside the selection. Describe the exact area and desired change in your prompt as well.
Final Thoughts
ChatGPT Images 2.5 makes AI photo editing more capable, especially for precise edits, preserving important details, and making multiple changes without losing consistency. It can handle many everyday editing tasks without requiring traditional photo-editing skills.
👉 The key difference maker is still:
Your prompt quality
The more clearly you tell ChatGPT what to change, what to preserve, and what result you want, the more control you have over the final image.
Be specific about the edit → describe what should stay unchanged → refine the result when needed.
For quick everyday edits, ChatGPT can be remarkably capable, but dedicated tools such as Photoshop still offer more specialized manual control for advanced professional workflows.
FAQs
Can I edit my own uploaded photos?
Yes. Upload your photo and describe the changes you want ChatGPT to make. You can also use the selection tool to highlight a specific area before describing the edit. ChatGPT Images 2.5 is designed to make more precise edits while preserving more of the original image.
Will it keep my face same?
Usually, it can preserve your facial features and identity more reliably than before, especially when you clearly specify what should remain unchanged. However, exact preservation is not guaranteed, particularly during larger or more complex transformations.
Is it beginner-friendly?
Yes. You don’t need traditional photo-editing skills for the prompts in this guide. Upload your photo, describe the edit you want, and ChatGPT can handle the change for you. For more precise edits, you can also select the specific area you want to modify.
What is new in ChatGPT Images 2.5?
ChatGPT Images 2.5 brings sharper details, faster generation, more precise editing, and better consistency across multiple edits. It is also better at preserving subjects from reference photos and following instructions about what should and should not change.

Ayush Singhal is the founder and chief editor of TechMitra.in — a tech hub dedicated to simplifying gadgets, AI tools, and smart innovations for everyday users. With over 15 years of business experience, a Bachelor of Computer Applications (BCA) degree, and 5 years of hands-on experience running an electronics retail shop, Ayush brings real-world gadget knowledge and a genuine passion for emerging technology.
At TechMitra, he covers everything from AI breakthroughs and gadget reviews to app guides, mobile tips, and digital how-tos. His goal is simple — to make tech easy, useful, and enjoyable for everyone. When he’s not testing the latest devices or exploring AI trends, Ayush spends his time crafting tutorials that help readers make smarter digital choices.
📍 Based in Lucknow, India
💡 Focus Areas: Tech News • AI Tools • Gadgets • Digital How-Tos
📧 Contact: Get in touch →
🔗 Full Bio: https://techmitra.in/about-us/