

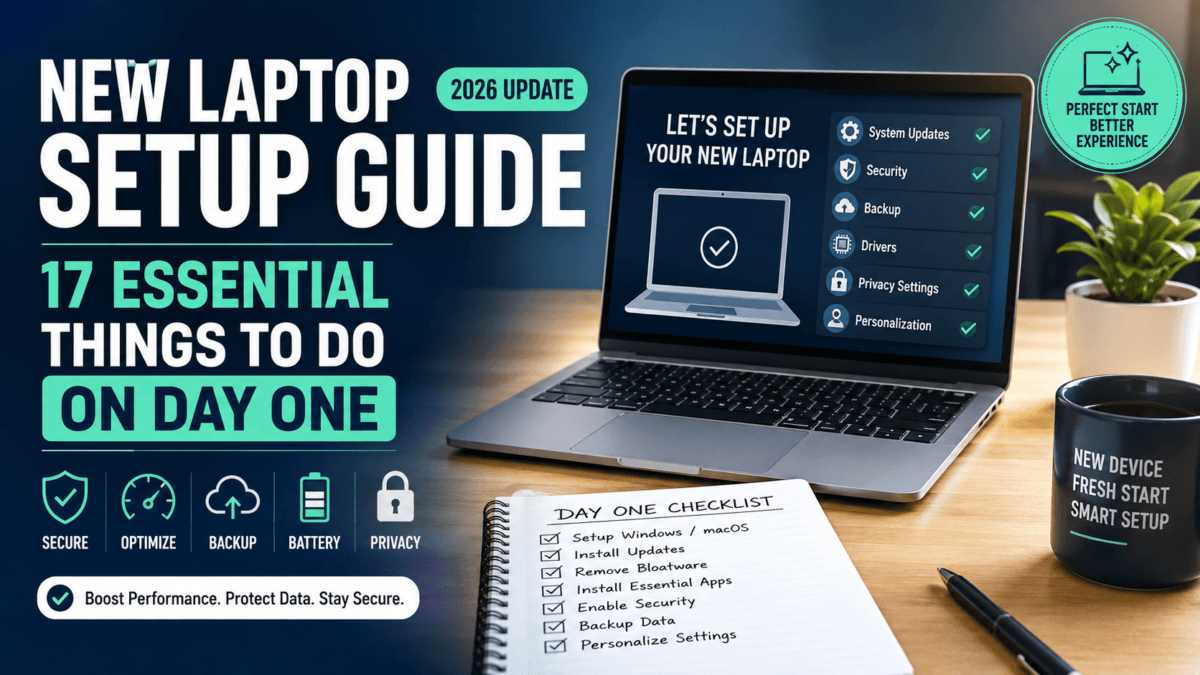
New Laptop Setup Guide: 14 Things to Do on Day One
A new laptop doesn’t need much setup — but the few things you do on the first day can prevent problems later. Skip them, and you often end up dealing with slower performance, a messy security setup, or a lost warranty window down the line. Configuring a new laptop properly from Day One matters more than most people think.
This step-by-step new laptop setup guide walks through how to use a new laptop for the first time and what actually matters on Day One, whether you’re on Windows, macOS, or a newer AI-enabled laptop. From initial setup to security, updates, backups, and personalization, here’s how to set up a new laptop the right way.
Also Read: New Smartphone Setup Guide For Beginners: Essential Things to Do on Day One
1. Inspect the Laptop Physically Before Anything Else
Before powering on your laptop, take a few minutes to inspect it carefully.
What to check:
- No scratches, dents, or screen bleeding
- Keyboard keys working properly
- Trackpad smoothness
- Ports (USB, HDMI, charging port) firmly attached
- Charger cable condition
If you notice any manufacturing defect, it’s easier to replace the device immediately rather than dealing with service centers later — most sellers only offer a short replacement window.
2. Power On and Complete Initial Setup Carefully
Most new laptops guide you through a setup wizard. Don’t rush this process — this is really the first stage of configuring a new laptop, and it decides several defaults you’ll otherwise have to fix manually later.
Important choices to make:
- Correct region and keyboard layout
- Language preferences
- Wi-Fi connection
- Time zone accuracy
Some laptops will also ask about usage preferences like work, study, gaming, or creative tasks during setup. Answering honestly here can help the system apply more sensible default performance and power profiles.
3. Create a Secure User Account (Avoid Shortcuts)
Many users choose weak passwords just to finish setup quickly. This is risky.
Best practices:
- Use a strong password (minimum 12 characters)
- Enable biometric login (fingerprint or face unlock) if your laptop supports it
- Link a recovery email or phone number
Signing in with a Microsoft account (Windows) or an Apple ID (macOS) unlocks cloud-connected features — but exactly what you get depends on what you turn on. A Microsoft account by itself doesn’t automatically enable cloud backup or device tracking, and iCloud features on macOS work the same way: you need to switch them on individually in Settings. Take a few minutes after setup to check which of these you actually want active.
4. Check the Operating System Version and Updates
Outdated software is a common security risk on new laptops.
What to do immediately:
- Check the current OS version
- Install all pending updates
- Restart the system if required
Laptops often ship with older builds simply because they’ve sat in a warehouse or on a store shelf since manufacturing. Updating early gets you bug fixes, security patches, and better compatibility with newer features and apps.
Also Read : How to Speed Up a Slow Windows PC or Laptop 11 Or 10: The Ultimate Guide
5. Activate and Register Your OS License
Sometimes a laptop ships with the OS pre-installed but not yet activated or registered.
Verify:
- Windows activation status (Settings > System > Activation)
- macOS registration with your Apple ID
An unactivated copy of Windows will typically show a persistent watermark and restrict some personalization options (like changing the desktop background) until resolved — it won’t stop you from installing security updates, though feature updates and full functionality do depend on proper activation. If activation fails on a brand-new device, contact the seller — this can indicate a licensing issue that’s easier to resolve while you’re still within the return window.
Also Read: MacBook vs Windows AI Laptops in 2026: Which Should Students Buy in India?
6. Remove Unnecessary Pre-Installed Software (Bloatware)
Most new laptops come loaded with trial apps, ads, and brand utilities you don’t need.
Why remove them:
- They slow down boot time
- They consume RAM and storage
- They run background services
- They increase battery drain
Common candidates to uninstall:
- Trial antivirus (if you prefer another)
- Duplicate system tools
- Promotional apps
- Manufacturer “offer” apps and pop-ups
Keep only essential drivers and genuine system utilities.
7. Install a Reliable Security Solution
Even with built-in protection (Windows Defender or macOS’s built-in protections are both reasonably capable in 2026), check its status rather than assuming it’s on and up to date.
Key steps:
- Enable real-time protection
- Turn on the firewall
- Schedule automatic scans
Whether you need a third-party antivirus on top of this depends on your usage — if you regularly download from untrusted sources or handle sensitive work files, an additional reputable layer can help. For average, careful users, the built-in protection is usually adequate.
8. Set Up Backup and Privacy Together
Two things worth handling in the same sitting: making sure your data is protected, and making sure your data isn’t being shared more than you’d like.
Backup:
- Enable cloud backup (OneDrive, iCloud, or Google Drive) for key folders
- Create a system restore point
- Set up automatic backup for Documents, Desktop, and Pictures
Privacy:
- Review app permissions for camera, microphone, and location
- Turn off personalized ad tracking you don’t want
- Review any AI or activity-history features (like Windows’ Recall-style tools) and disable anything you’re not comfortable with
Doing both now is far easier than untangling settings later.
Also Read : What Is Copilot+ PC in Windows? Features, Benefits & Top Picks
9. Adjust Power and Performance Settings
New laptops often default to a generic balanced mode, which may not suit your actual usage.
Customize based on your needs:
- Performance mode for work or editing
- Battery saver mode for travel
- Reduce screen timeout
- Enable adaptive brightness
- Limit background and startup apps
If your laptop offers an adaptive or AI-assisted power mode, enable it and see if it suits your usage — not every laptop with an AI processor exposes this kind of feature, so check your specific model’s power settings rather than assuming it’s there.
These changes can add real, noticeable battery life without touching hardware.
10. Understand Battery Care — Don’t Over-Calibrate
This is one of the most misunderstood parts of laptop setup, so it’s worth getting right.
For day-to-day use, manufacturer guidance (Microsoft, Dell, ASUS, Apple) generally points toward keeping your battery in a moderate range — roughly 20% to 80% — rather than routinely running it down to empty and back to full. Frequent deep discharges tend to accelerate long-term wear on lithium-ion batteries.
A full calibration cycle (discharge to near-empty, then fully recharge) is a troubleshooting step, not a routine Day One task. Use it only if the battery percentage seems to behave inaccurately — for example, jumping suddenly from 20% to 6%. If that happens, Dell and other manufacturers recommend up to three such cycles to recalibrate the reading.
Many recent laptops also include built-in smart charging (Battery Smart Charging on Surface devices, Battery Health Charging on ASUS, and similar tools from other brands) that manages this automatically. Check your power settings or manufacturer’s companion app and enable it if available, rather than manually cycling the battery yourself.
11. Install Essential Software Only
Avoid installing everything at once.
Start with:
- A web browser (if you don’t like the default)
- Office or productivity suite
- PDF reader
- Password manager
- Video conferencing tools
Avoid cracked or unofficial software — it’s one of the most common ways new laptops get compromised in the first month, security suite or not.
12. Check What AI Features Your Laptop Actually Has
Rather than assuming your laptop includes every AI feature you’ve read about, take a few minutes to check what’s actually present on your specific model.
- Check which AI features are genuinely available on your laptop — this varies significantly by brand and model, even among laptops with an NPU
- Review the privacy settings for any AI-related services (many process data on-device, but some sync to the cloud — check which)
- Disable AI features you don’t expect to use
- Check whether any AI-related apps are launching at startup and consuming resources unnecessarily
This is more useful than turning everything on and hoping for the best — unused background AI processes can quietly eat into battery and performance.
Also Read : Intel vs AMD Processor Finder – Compare CPUs & Find Equivalents (Free Tool)
13. Create a Recovery Option
This step is often ignored — until disaster strikes.
On Windows, use Windows’ built-in “Create a recovery drive” tool with a USB drive (Microsoft’s own guidance suggests at least 8GB, though this can vary by device — the tool will tell you the exact requirement for your system).
On macOS, recovery works differently — macOS Recovery is built into the drive itself and accessible by holding the right key combination at startup; a separate USB recovery drive generally isn’t needed unless you’re troubleshooting a deeper issue.
Either way, it’s worth knowing your recovery option exists and works before you actually need it — not after.
14. Test Hardware and Finish Driver Updates
Before your return or replacement window closes, confirm everything works and is current.
Test:
- Webcam and microphone
- Speakers
- Bluetooth and Wi-Fi
- Keyboard (including backlight) and touchpad gestures
Update:
- Run Windows Update or macOS Software Update first — this covers many driver updates automatically
- Then use your manufacturer’s official support utility (Dell SupportAssist, HP Support Assistant, Lenovo Vantage, ASUS MyASUS, Apple Diagnostics, etc.) for anything remaining, including BIOS/firmware
Avoid downloading individual drivers from random third-party sites — the manufacturer utility is the safer path for beginners.
Common Mistakes to Avoid on Day One
- Skipping updates
- Ignoring backup setup
- Installing pirated software
- Disabling security tools
- Overloading startup apps
- Regularly deep-discharging the battery “to calibrate it”
These mistakes can reduce performance and battery lifespan even on high-end laptops.
Final Thoughts on New Laptop Setup
Your laptop’s first day sets the foundation for its entire lifespan. Taking a couple of hours to secure, update, and configure your new laptop properly can save you months of frustration later — regardless of whether you use it for work, study, content creation, or everyday browsing.
Also Read : Best Affordable Laptops for Students in India (2026): Top Picks Under ₹50,000 & ₹60,000
Frequently Asked Questions (FAQs)
1. What should I do first after buying a new laptop?
Physically inspect it for any damage, then complete the initial setup carefully. After that, check for operating system updates and install them before using the laptop for regular work.
2. Is it necessary to update a new laptop immediately?
Yes. New laptops often ship with older software versions. Updating the OS and drivers improves security, fixes bugs, and enhances performance and compatibility.
3. Should I uninstall pre-installed apps on a new laptop?
Yes, remove unnecessary bloatware — trial apps and promotional software can slow the system and consume background resources. Keep essential system utilities and drivers.
4. Do I need antivirus software if Windows Defender is already built in?
For most average users being careful about what they download, Windows Defender’s built-in protection is adequate in 2026. If you regularly handle sensitive files or download from less trusted sources, an additional reputable antivirus can add a layer of protection.
5. Should I fully discharge my new laptop’s battery to calibrate it?
No, not as a routine step. Keep the battery roughly between 20% and 80% for daily use. Only run a full discharge-and-recharge cycle if the battery percentage reading seems inaccurate, and treat it as an occasional fix rather than a habit.
6. How do I set up Windows 10 on a new laptop, if my laptop still runs it?
The process is largely the same as configuring a new laptop on Windows 11 — complete the setup wizard, sign in with a Microsoft account, install pending updates, and remove bloatware. The main difference is the interface and some settings locations. If your device is eligible, it’s worth checking whether an upgrade to Windows 11 is available, since Windows 10 is closer to the end of its support lifecycle.

Ayush Singhal is the founder and chief editor of TechMitra.in — a tech hub dedicated to simplifying gadgets, AI tools, and smart innovations for everyday users. With over 15 years of business experience, a Bachelor of Computer Applications (BCA) degree, and 5 years of hands-on experience running an electronics retail shop, Ayush brings real-world gadget knowledge and a genuine passion for emerging technology.
At TechMitra, he covers everything from AI breakthroughs and gadget reviews to app guides, mobile tips, and digital how-tos. His goal is simple — to make tech easy, useful, and enjoyable for everyone. When he’s not testing the latest devices or exploring AI trends, Ayush spends his time crafting tutorials that help readers make smarter digital choices.
📍 Based in Lucknow, India
💡 Focus Areas: Tech News • AI Tools • Gadgets • Digital How-Tos
📧 Contact: Get in touch →
🔗 Full Bio: https://techmitra.in/about-us/